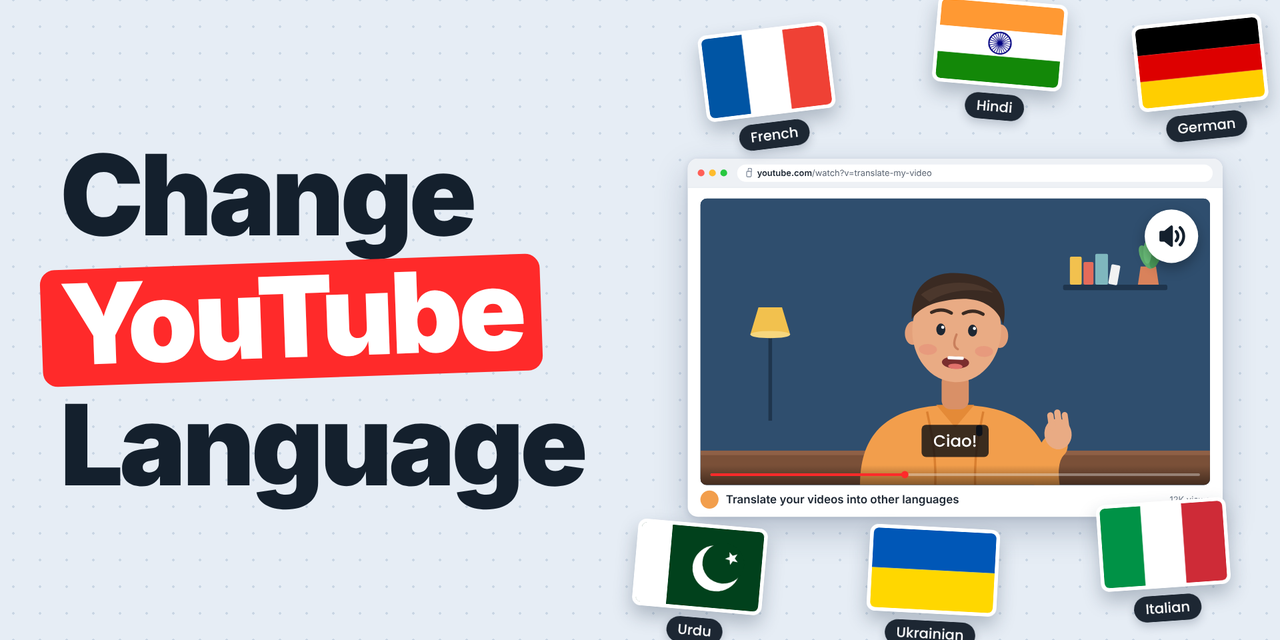
YouTube multi-language audio lets a viewer listen to a video in another language, even when it was only recorded in English. By the end of this post you’ll know how to switch a video’s audio track as a viewer, and how to check or add language tracks on your own videos as a creator.
For teachers, this has a practical use. If you have pupils with English as an additional language (EAL), you can play a video to them in their home language, provided the creator has enabled it. It is also useful for schools making information videos for parents, such as a guide to the new reading scheme or how to use the school app, where families speak a range of languages.
What the feature does
YouTube now uses AI to create dubbed audio tracks for videos. This is called auto-dubbing: YouTube detects the original language, translates the speech and produces a new audio track with a synthetic voice. Viewers can then choose that track from the video player, and auto-dubbed tracks are labelled so viewers know they were AI-generated.
A few years ago I tested HeyGen, which translated a video and tried to make my own voice speak the new language. YouTube’s version works differently. On my videos it hasn’t tried to sound like me; it has created a separate voice dub and played it over the video.
The creator has to allow it on their videos, so you won’t find extra languages on every video. Correct as of November 2026.
How to change the audio language as a viewer
You don’t need to be signed in as a creator to do this. It works on any video that has extra audio tracks.
- Open the video on YouTube and start it playing.
- Click the Settings cog in the bottom right corner of the player.
- Select Audio track. It will show the current language, for example English (original).
- Choose a language from the list. On my videos this includes Dutch, French, German, Hebrew, Hindi and Polish, among others.
- Press play. The video continues with the dubbed audio in that language.
If the Audio track option doesn’t appear, the video has no alternative languages.
How to check and add audio tracks as a creator
If you make videos for your class or school, you can see what YouTube has generated and add your own tracks.
- Open YouTube Studio and go to your content list.
- Select the video, then open the Languages tab.
- Here you’ll see the audio tracks YouTube has generated automatically, along with any subtitles.
- To add a language that isn’t listed, click Add language and choose it, for example Urdu.
- Optionally, add a translated title and description in that language.
- Under Audio, click to add and upload your own dubbed audio file.
You’d use step 6 if you had a dub recorded elsewhere: a colleague or parent volunteer who speaks the language, or a track made with another AI tool. I use the automatically generated tracks on my own channel, as there are enough languages there to be useful for most viewers.
Limitations to keep in mind
Auto-dubbing is machine translation, so it can make mistakes. Subject vocabulary, names and UK-specific terms are the most likely to come out oddly. If you plan to rely on a dubbed video with an EAL pupil, listen to a section first, or ask a colleague or family member who speaks the language to check it.
For anything sensitive, such as safeguarding information or SEND communication with parents, a human translation is still the safer choice.
Getting started
- Find a video you already use in lessons and check its Settings menu for an Audio track option.
- If you have EAL pupils, try it with their home language and ask them how clear it sounds.
- If you make your own school videos, open the Languages tab in YouTube Studio and see which tracks have already been generated.
For a comparison with a tool that clones your own voice, see my earlier post on translating videos with HeyGen.
Which languages would be most useful for your class? Let me know in the comments.